· 10 min read
Automate Your Amazon Seller Central Workflow Using N8n and Google Sheets
As an Amazon seller, managing your business across various platforms and tools can become an inefficient and frustrating process. Don't worry we got you!

As an Amazon seller, managing your business across various platforms and tools can become an inefficient and frustrating process. However, by connecting your Amazon Seller Central account to an automation tool like N8n and a spreadsheet app such as Google Sheets, you can streamline your workflow and save valuable time. In this article, you'll learn how to set up an automated workflow between Amazon Seller Central, N8n, and Google Sheets to seamlessly transfer your Amazon sales and inventory data to a Google Sheet. With the workflow in place, your Amazon Seller Central data will automatically populate in your Google Sheet, giving you a single source of truth for your key business metrics and freeing you up to focus on high-impact tasks.
Connecting Amazon Seller Central and N8n
To connect your Amazon Seller Central account to N8n and Google Sheets, you will need to configure API credentials for each service to allow N8n to access your data.
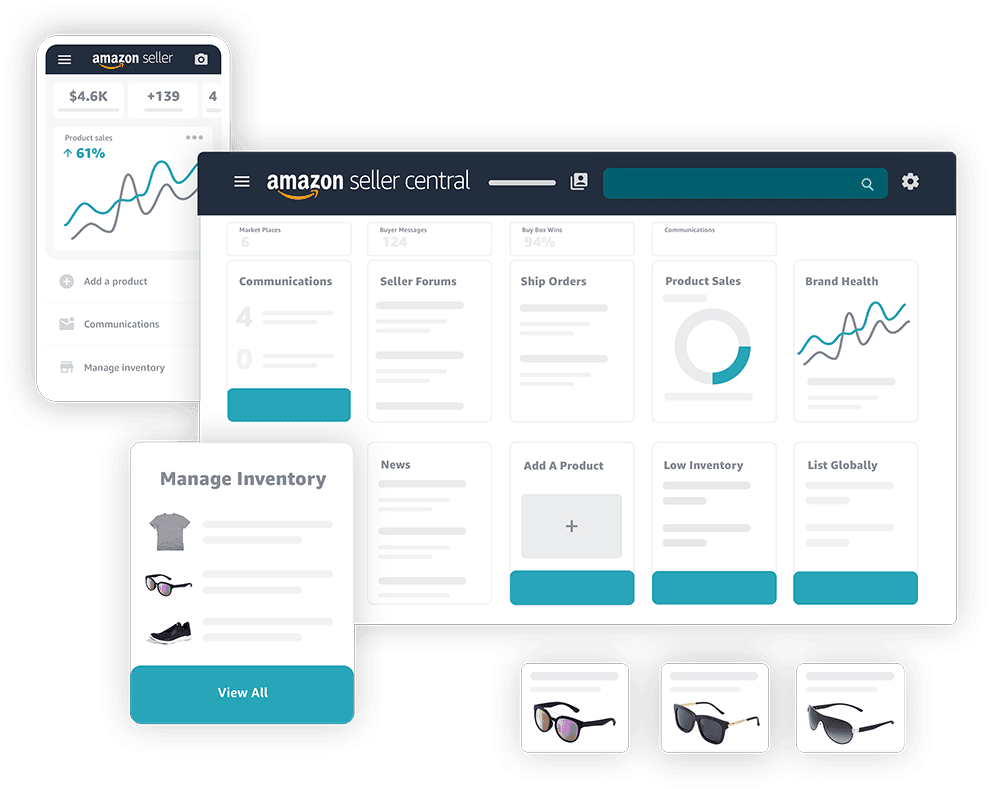
Connecting Amazon Seller Central
- Log in to your Amazon Seller Central account and navigate to Settings → User Permissions.
- Click “Add a new user” and create an API-only IAM user. Grant the “FullAccess” policy.

- Note the Access Key ID and Secret Access Key for the new user. These will be used to connect Amazon Seller Central to N8n.
Connecting N8n
- In the N8n UI, click the “Add Persistent Credential” button.
- Select the “Amazon Seller Central” node.
- Enter a name to identify the connection.
- Paste in the Access Key ID and Secret Access Key from Amazon Seller Central.
- Click “Create Persistent Credential” to save the API credentials.

Connecting Google Sheets
- In the N8n UI, click the “Add Persistent Credential” button again.
- Select the “Google Sheets” node.
- Enter a name to identify the Google Sheets connection.
- Click “Create Persistent Credential” to authenticate with Google Sheets.
- Grant N8n access to read, write, and modify the spreadsheet you want to connect.
With the API credentials configured for Amazon Seller Central and Google Sheets, you can now build an N8n workflow to automatically transfer your Amazon Seller Central data to a Google Sheet for enhanced reporting and analytics. Let N8n do the tedious data transfer work for you so you can focus on growing your business.
Setting Up API Credentials for Amazon Seller Central
To connect your Amazon Seller Central account to N8n and Google Sheets, you will need to generate API access credentials within Amazon Seller Central. Follow these steps:
- Log in to Seller Central and go to Settings → Developer settings. Click the "Register new developer" button.
- Enter an App name, choose "Third-party app access" as the App type, and click "Register App". This will generate a Login with Amazon (LWA) Client ID and Client Secret.
- Under "API Access", check the box next to "Manage your orders and shipments" and click "Generate Access Key". This will generate an Access Key ID and Secret Access Key.
- Note down the LWA Client ID and Secret as well as the Access Key ID and Secret Access Key. These credentials will be used to authenticate the Amazon Seller Central node in your N8n workflow.
- In N8n, activate the Amazon Seller Central node. For the authentication method, select "Access Keys". Enter the Access Key ID and Secret Access Key you generated.
- For the LWA App ID and App Secret, enter the LWA Client ID and Client Secret. This authorizes N8n to access your Amazon Seller Central data.
- Select the data you want to transfer to Google Sheets, such as order IDs, order dates or shipment statuses. Map the fields between Amazon Seller Central and Google Sheets.
- Activate the Google Sheets node and enter your Google account credentials to authorize access. Select the spreadsheet you want to write the data to.
- Run the workflow and your Amazon Seller Central data will be automatically transferred to the specified Google Sheet, streamlining your workflow and saving valuable time. Let N8n do the repetitive work for you!
Adding the Google Sheets Node to Your N8n Workflow
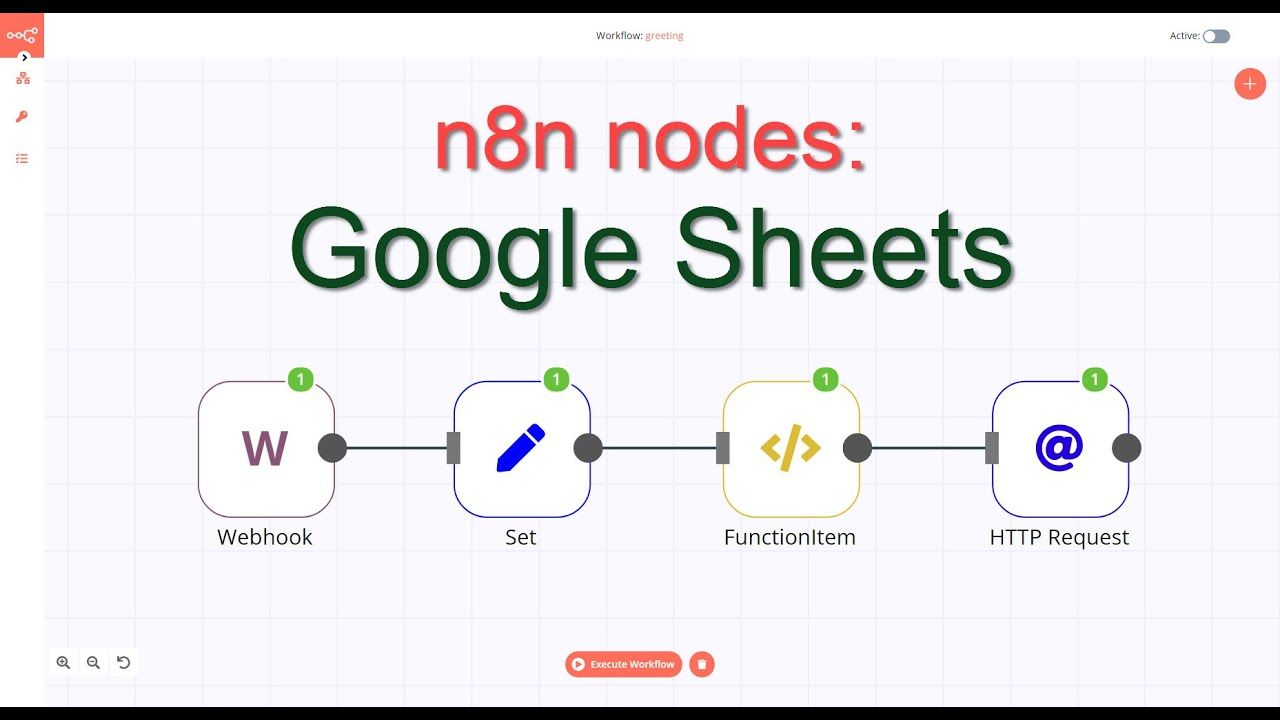
Adding the Google Sheets Node
To transfer your Amazon Seller Central data to Google Sheets, you'll need to add the Google Sheets node to your N8n workflow.
Follow these steps:
- Install the Google Sheets node in your N8n instance. This can be done by searching for “Google Sheets” in the node installer and clicking install.
- Create a Google Sheets spreadsheet in your Google Drive account to hold the data from Amazon Seller Central. Give the spreadsheet a name like “Amazon Seller Central Data”.
- Generate API credentials for Google Sheets in the Google Cloud Console. This will provide you with a Client ID and Client Secret to authorize the Google Sheets node in your N8n workflow.
- Add the Google Sheets node to your N8n workflow and configure it with the Client ID and Client Secret from the previous step. This will authorize N8n to access your Google Sheets account.
- Select the spreadsheet you created in Step 2 from the list of spreadsheets in your Google Drive. The node will default to the first sheet in the spreadsheet, named “Sheet1”. You can rename this to something like “Orders” or “Products” depending on your use case.
- Map the data from the Amazon Seller Central node to the appropriate columns in your Google Sheets spreadsheet using N8n’s mapping interface. For example, map “Order ID” to column A, “Product Name” to column B, “Price” to column C, and so on.
- Run your N8n workflow and the data from Amazon Seller Central will be transferred to the mapped columns in your Google Sheets spreadsheet.
- Check your Google Sheets spreadsheet to ensure the data was mapped and transferred accurately. Make any necessary adjustments to your N8n workflow.
By following these steps, you'll have an automated way to sync your Amazon Seller Central data with Google Sheets for reporting, analysis and monitoring your store's sales and products. Let me know if you have any other questions!
Configuring API Credentials for Google Sheets
To connect your Amazon Seller Central account to N8n and export data to Google Sheets, you will need to configure API credentials for Google Sheets. Follow these steps to obtain the necessary credentials:
Generate a Service Account
- Go to the Google Cloud Console and select the project that contains the Google Sheet you want to access.
- Click APIs & Services > Credentials.
- Click Create credentials > Service account.
- Enter a name for the service account and select "Project" > "Editor" as the role.
- Click Create. Your service account credentials will be created and downloaded to your machine.
Enable the Google Sheets API
- In the Google Cloud Console, select your project.
- Click APIs & Services > Library.
- Search for and select the Google Sheets API.
- Click Enable. The Google Sheets API will now be enabled for your project.
Add Service Account Credentials to N8n
- Open N8n and go to Workflow > Auth Credentials > Add credentials.
- Select "Google" as the credential type.
- Name your credentials and select "Service Account".
- Upload the JSON file you downloaded for your service account.
- The credentials will be added. You can now use the "Google Sheets" node in your workflows.
Share the Google Sheet with your Service Account
- Open the Google Sheet you want to access.
- Click Share.
- Enter the email address of your service account in the "Add people and groups" field. This will be the "client_email" value in the JSON credentials file.
- Change the access level to "Editor" and click Send.
- Your service account now has edit access to the Google Sheet.
With the API enabled and credentials configured, you can now build an N8n workflow to automatically transfer data from your Amazon Seller Central account to a Google Sheet. Please let me know if you have any other questions!
Mapping Data and Running Your Workflow
To transfer your Amazon Seller Central data to Google Sheets, you must map the data fields between the two services to define how information should flow from one to the other.
Connecting the Nodes
The first step is connecting the Amazon Seller Central and Google Sheets nodes in your N8n workflow. Select the nodes and click the “Connect” button to create a connection between them.
Selecting Data Fields
Next, you need to choose which data fields to extract from Amazon Seller Central and import into Google Sheets. In the Amazon Seller Central node, select fields like “Product ID,” “Product Name,” “Price,” “Inventory,” and “Sales Rank.” In the Google Sheets node, map those fields to corresponding columns in your spreadsheet.
Configuring the Workflow
With the nodes connected and fields mapped, you must configure a few final settings in the workflow.
- In the Amazon Seller Central node, enter your Seller Central API credentials to authorize access.
- In the Google Sheets node, select the spreadsheet and worksheet you want to send the data to. Authorize access to your Google account.
- Set a schedule to automatically run the workflow and keep your data up to date. You can run it every few hours, once a day, or a few times per week depending on your needs.
- Test the workflow to ensure data is transferring accurately before running it live. Check that the fields have mapped properly and information is populating in the right columns in your spreadsheet.
- Activate the workflow to start the automated data transfer process. Your Amazon Seller Central data will now sync to the specified Google Sheet on the schedule you defined.
- Monitor your workflow regularly to ensure there are no errors and data is being transferred as expected. Make any necessary adjustments to the field mappings or schedule as needed.
With some initial configuration, you can build an automated workflow to seamlessly transfer your Amazon Seller Central data to Google Sheets, keeping the information up to date and enabling you to analyze key metrics and optimize your business. Let me know if you have any other questions!
Conclusion
By connecting your Amazon Seller Central account to N8n and Google Sheets, you can automate the transfer of product data and save countless hours of manual data entry. With the workflow configured, your Amazon listings will automatically populate in Google Sheets where you can further organize and analyze the information. No longer will you need to manually export reports and copy and paste data between the two systems. Automating your Amazon Seller Central workflow using N8n and Google Sheets allows you to scale your business and focus your time on more important initiatives to drive growth. The possibilities are endless when you unlock the power of automation.